How to install drivers silently using MSI
In this blog post we will show following:
- How to find drivers
- What you will need to install drivers:
- Driver files
- DPInst.exe to install drivers (It usually can be found in Windows ADK or next to driver files)
- Certificates – In cases where a window is shown with the option to always trust the publisher you will need to add a certificate. The easiest way to find them is using regedit, but there are other options too.
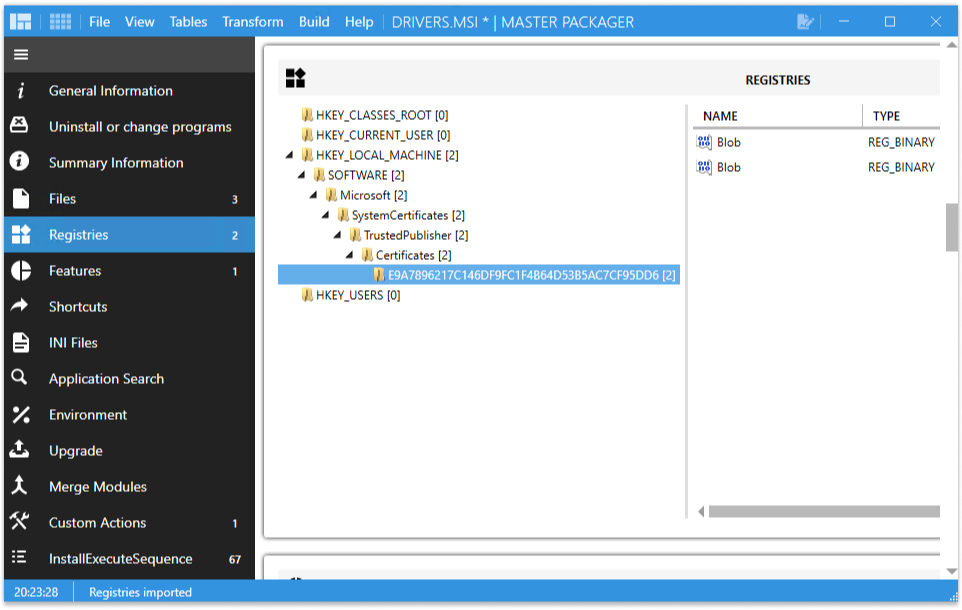
- Path to Trusted Publisher certificates: HKEY_LOCAL_MACHINE\SOFTWARE\Microsoft\SystemCertificates\TrustedPublisher\Certificates
- How to create Custom Actions for Installing Drivers using Master Packager
- How to create Template for future use
How to find DPInst.exe and drivers
To locate DPInst.exe:
- Open Process Monitor. Stop the capture and clear data.
- Run installation
- When DPInst.exe install windows appears, start the capturing process and when it finishes stop the process
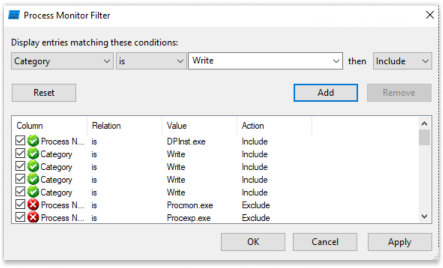
- Add a filter – Set the Category to write. Add it and click apply
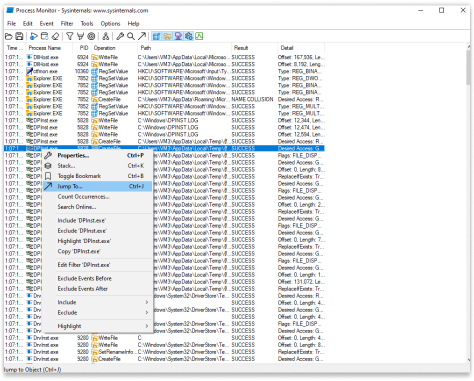
- Search for a process with a name like DPInst*.exe, right click and select “Jump to”
Note that the name of the executable can be slightly different. E.g.
DPINST.EXE, dpinst.x64.exe, dpinst-amd64.exe, dpinst-x86.exe,
DPInst32.exe etc.
Copy DPInst.exe to a new folder.
To locate driver files and registries:
- On clean VM open Master Repackager
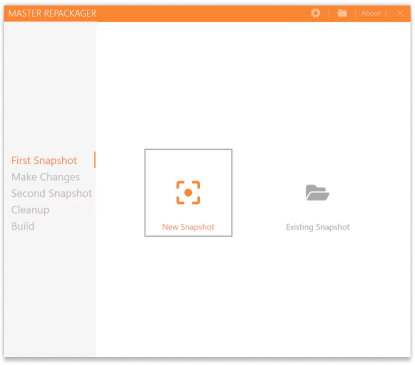
- Create first snapshot
- Run DPInst.exe
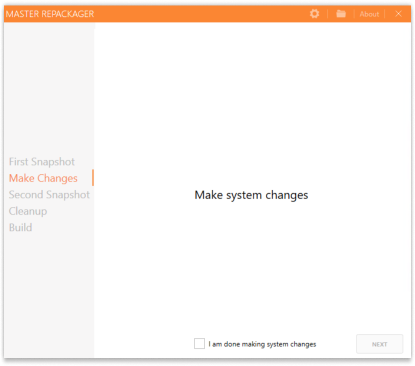
- After installation create second snapshot
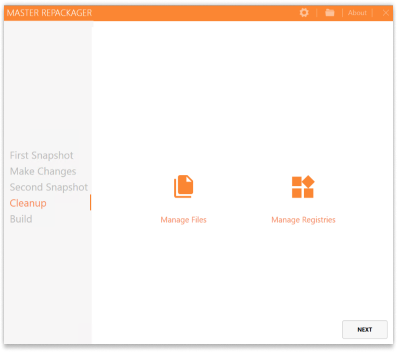
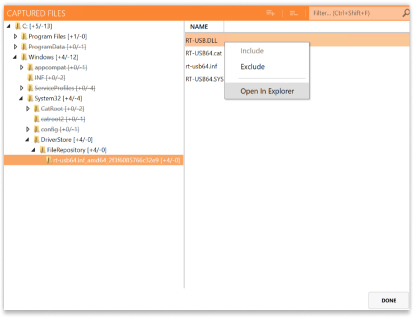
- In the files section under DriverStore locate driver files and copy them to the same folder where you copied DPInst.exe
- Locate Trusted Publisher certificates in the registries section
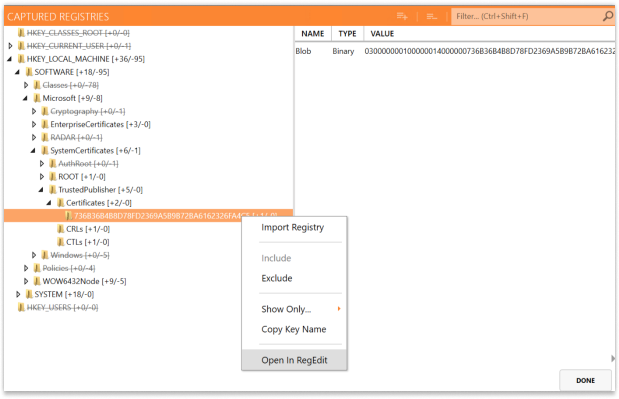
- Open them in RegEdit
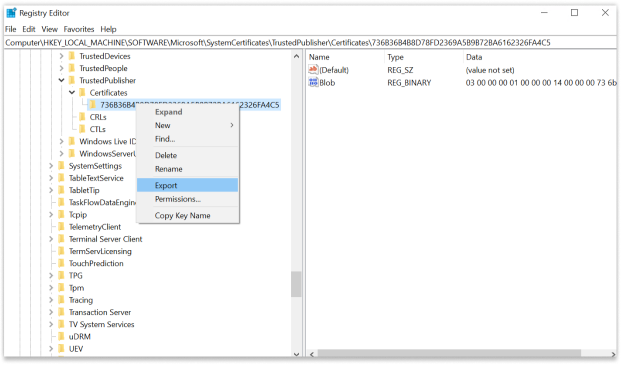
- Export the registries
Add drivers to MSI
- Open MSI with Master Packager
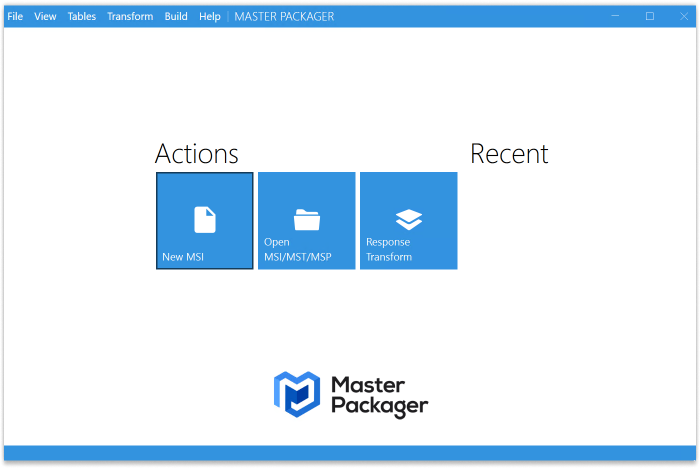
- In General Information add application name, version, vendor, ect.
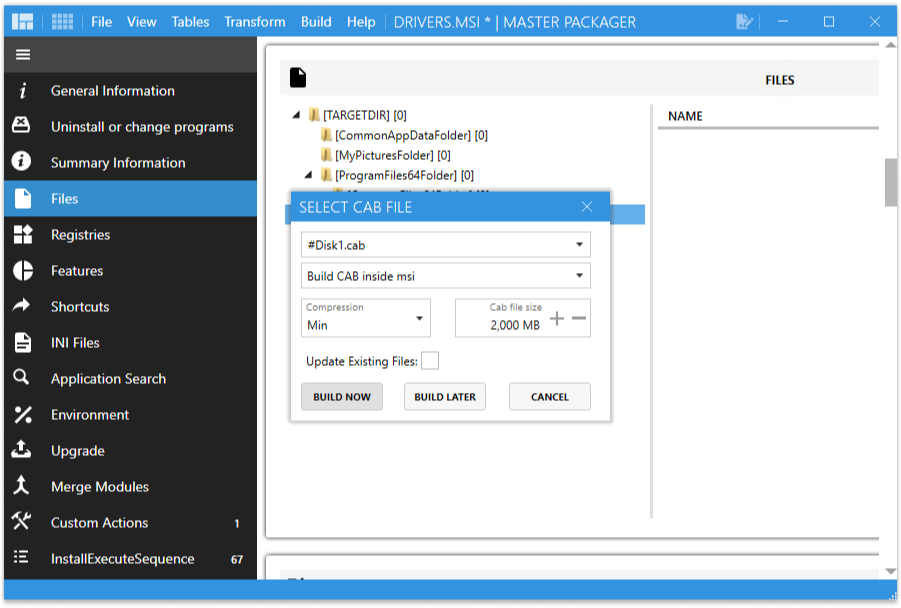
- Go to the Files section. Create a new folder under [ProgramFilesFolder]\vendors_folder and place the drivers in it
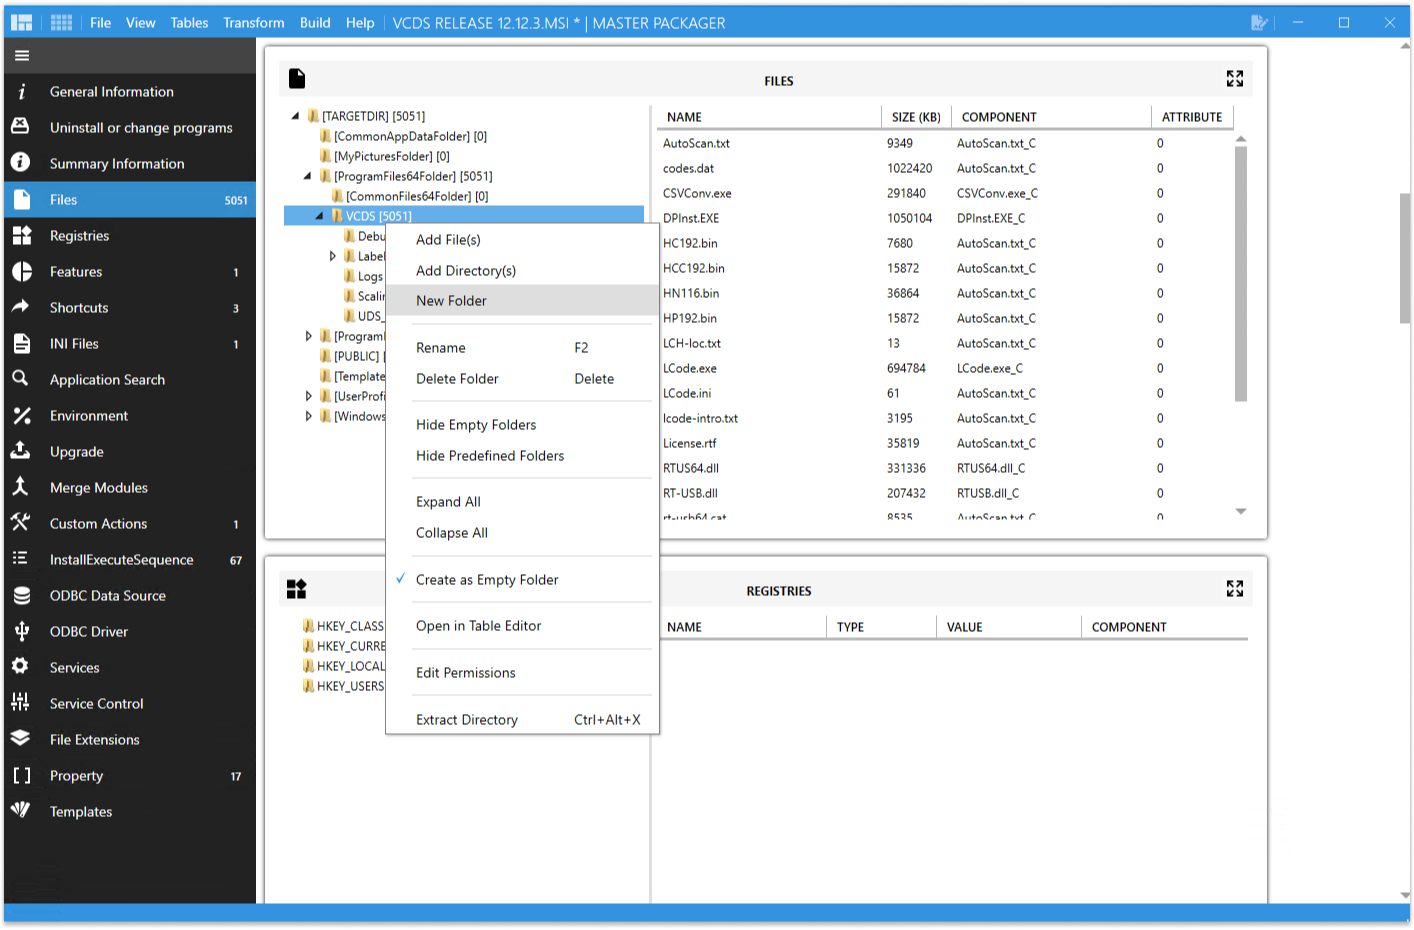
- Drag and drop located files and DPInst.exe exe into the folder and build a Cab file
Add Trusted Publishers certificates
In Advanced Editor locate Registries section – drag and drop previously exported registries.
Create Custom Actions
Installation Custom Action:
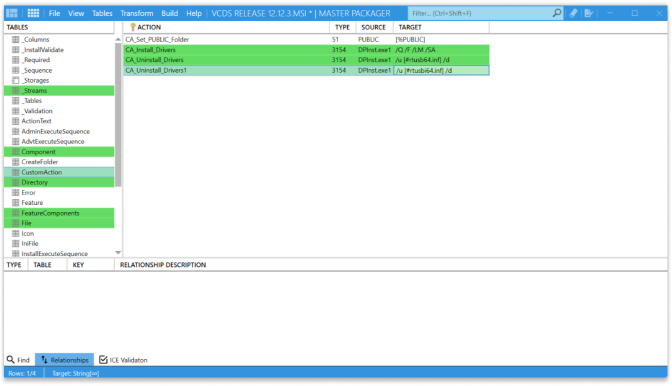
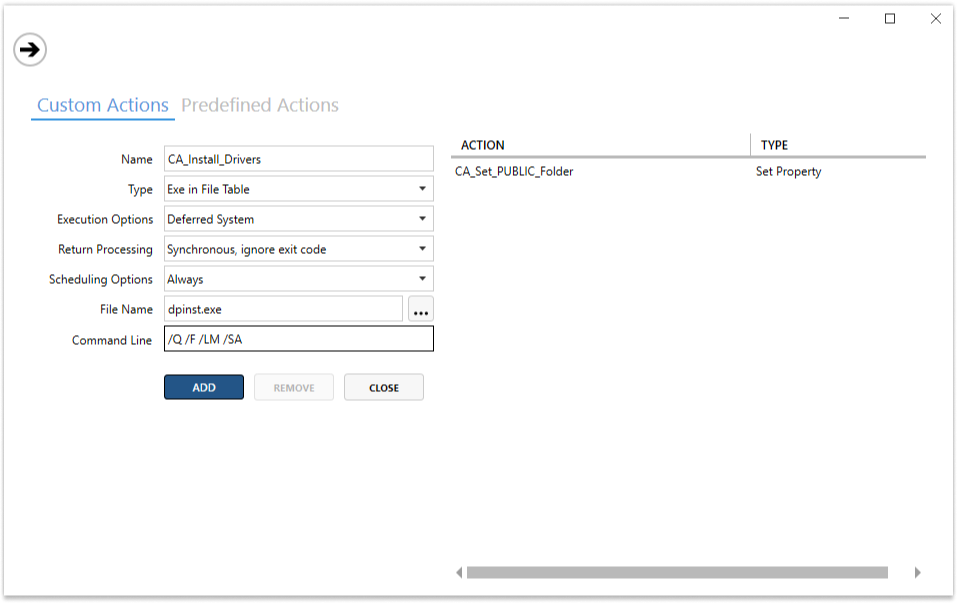
- Create a new Custom action called CA_Install_Drivers.
- Choose type Exe in File table
- As Execution Options select Deferred System
- Return Processing – Synchronous, ignore exit code – this will indicate that at installation process it would ignore exit code
- Scheduling Options set for Always
- Select DPInst.exe file
- In command line section add this line: /Q /F /LM /SA
Uninstall Custom Action:
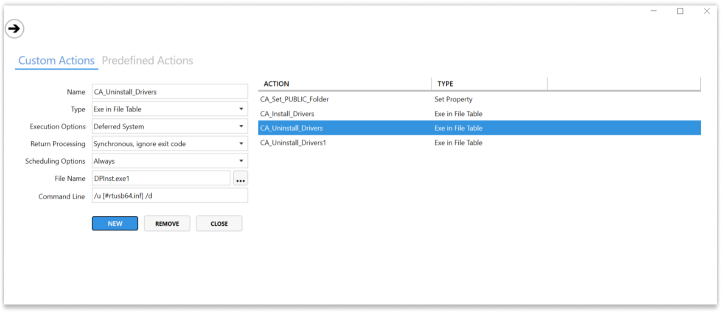
- Create a new Custom Action called CA_Uninstall_Driver
- Choose type Exe in File table
- As Execution Options select Deferred System
- Return Processing – Synchronous, ignore exit code
- Scheduling Options set for Always
- Select DPInst.exe.exe file
- In the command line section add this line: /u [#driverkey.inf] /d - replace file key for each driver file that you need to uninstall later. File keys can be found under File table. The file key is the first column of the file table called File.
Pro tip!
To create Uninstall Custom Actions faster for each driver, open Table editor:
- Copy CA_Uninstall_Driver row and paste (Ctrl+Shift+C and Ctrl+Shift+C to copy whole row) new Custom actions as many as drivers we have
- For each driver that needs uninstall, change the command line’s driver key
- To find driver file keys go to File table and click on sequence in descending order to see last added files
Add created Custom Actions in InstallExecuteSequence
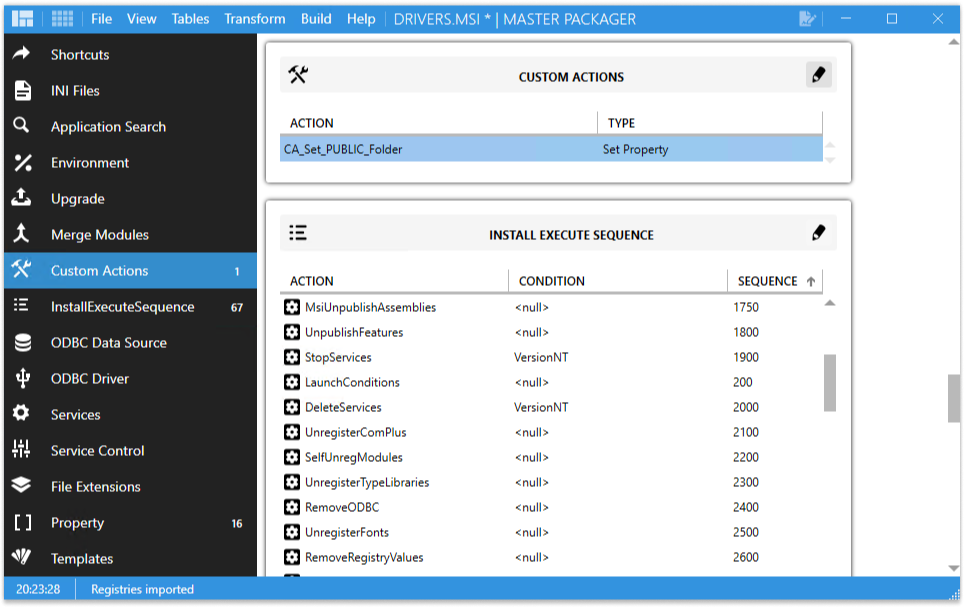
In advanced editor locate InstallExecuteSequence.
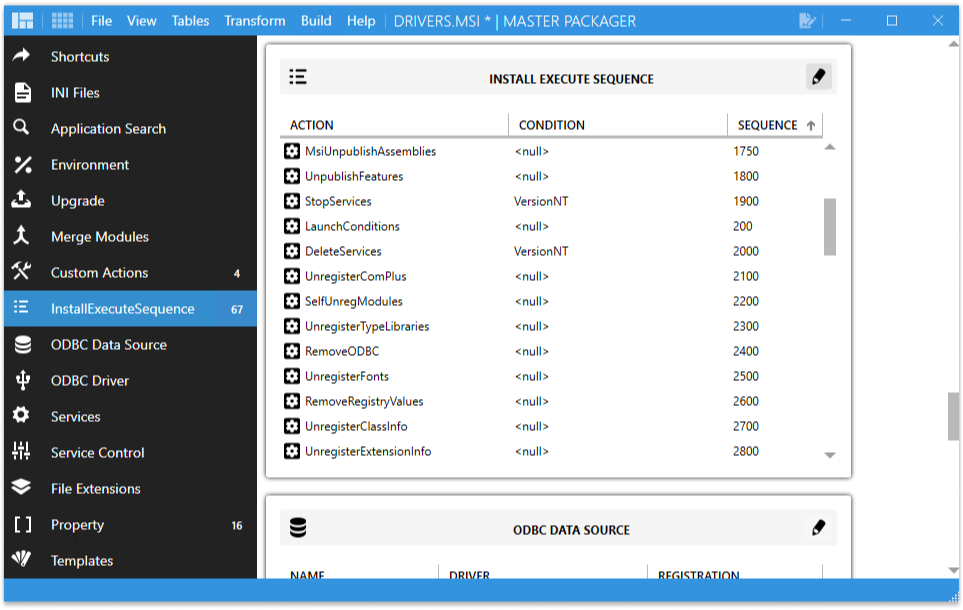
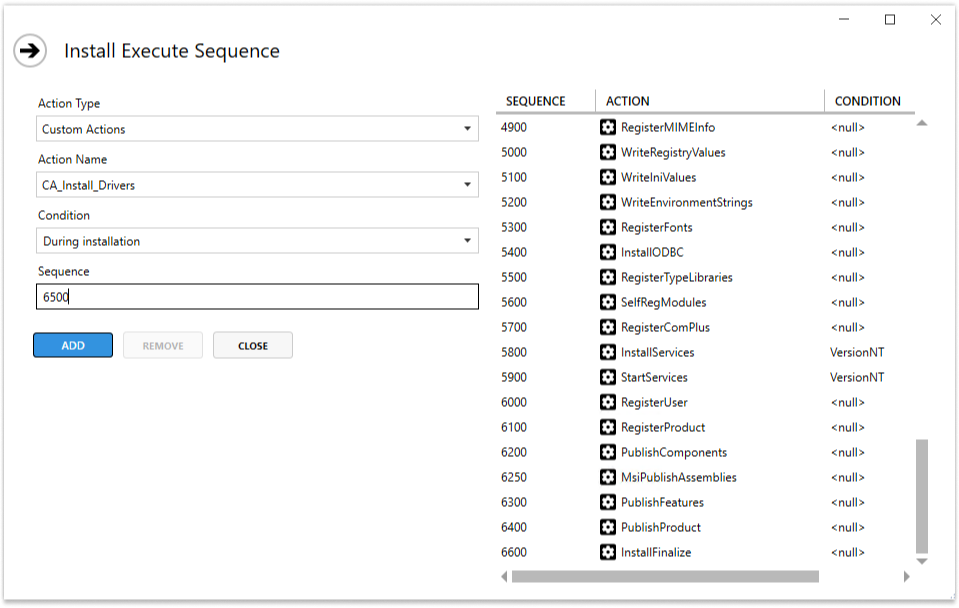
Add CA_Install_Drivers:
- Select Action Type - Custom Actions
- Select Action Name – CA_Install_Drivers
- Add Condition – During Installation
- Set Sequence number – 6500. It must be somewhere between WriteRegistries and InstallFinalize actions
- Add Custom Action to the Install Execute Sequence list.
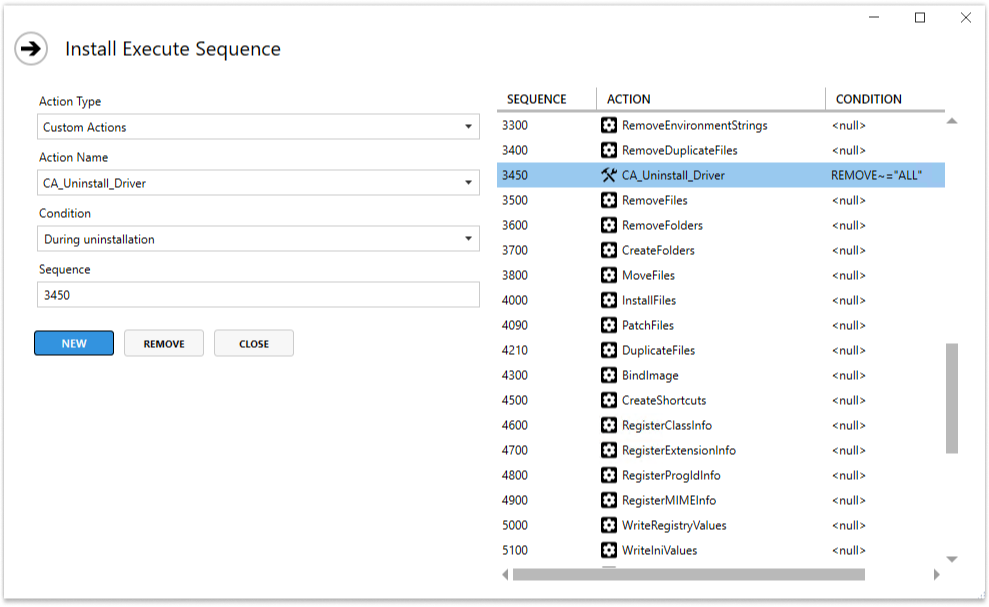
Add each CA_Uninstall_Driver:
- Select Action Type - Custom Actions
- Select Action Name – CA_Uninstall_Driver
- Add Condition – During Uninstallation
- Set Sequence number – 3450. It must be somewhere before RemoveFiles and InstallFinalize actions
- Add it to the Install Execute Sequence list
- Repeat it to for each uninstall custom action
How to Create a Template for Future Use in Master Packager
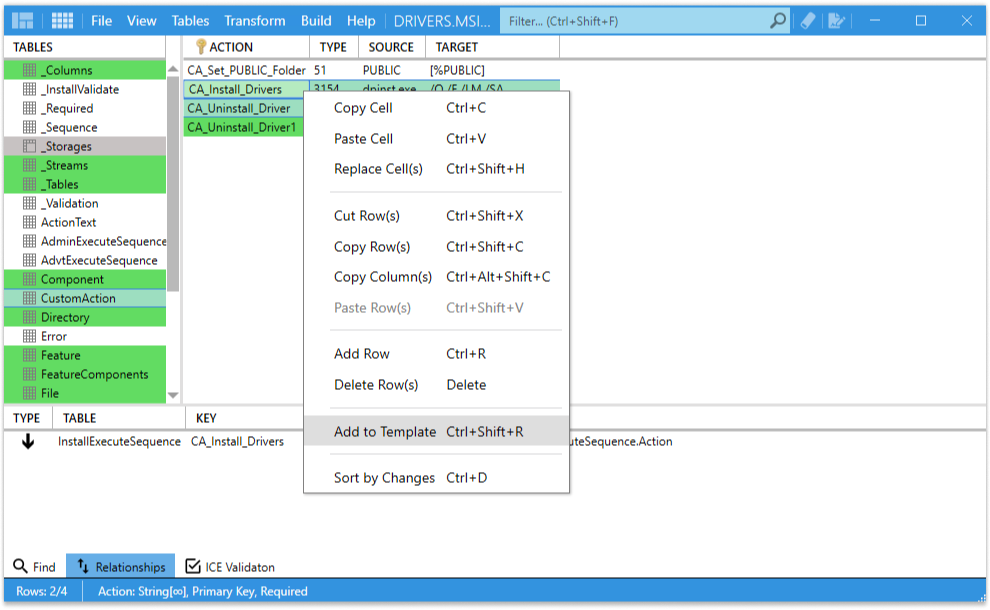
- Open MSI and go to the Custom Actions table
- Select CA_Install_Drivers and CA_Uninstall_Driver rows
- Right-click on one of the selected rows and press the “Add to Template” button
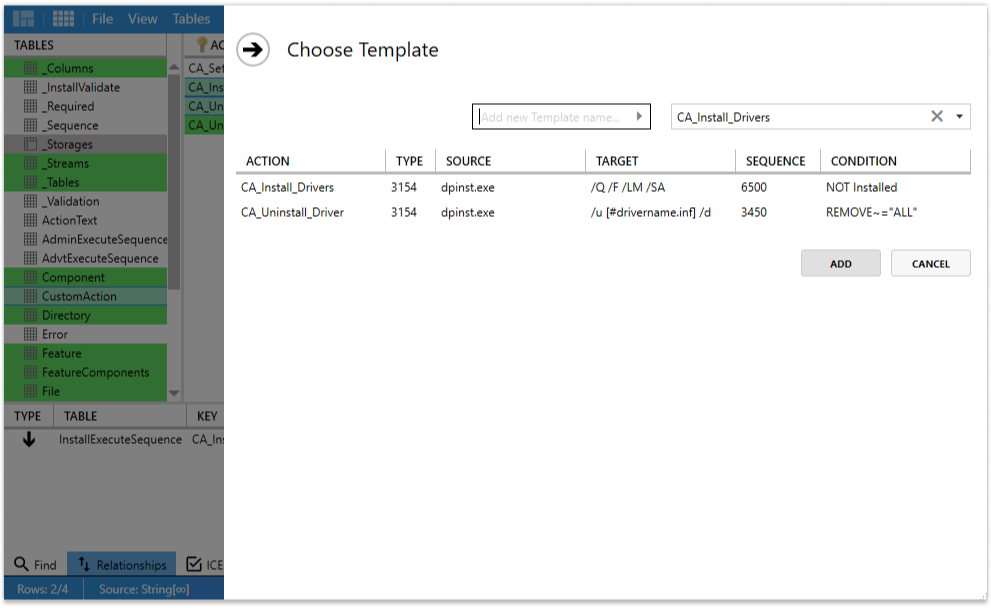
- Create a new template name and press the arrow button in the left textbox
Add pre-existing template to your Master Packager
To add a pre-existing template, locate the Master Packager folder in your User Profile’s %appdata% directory.
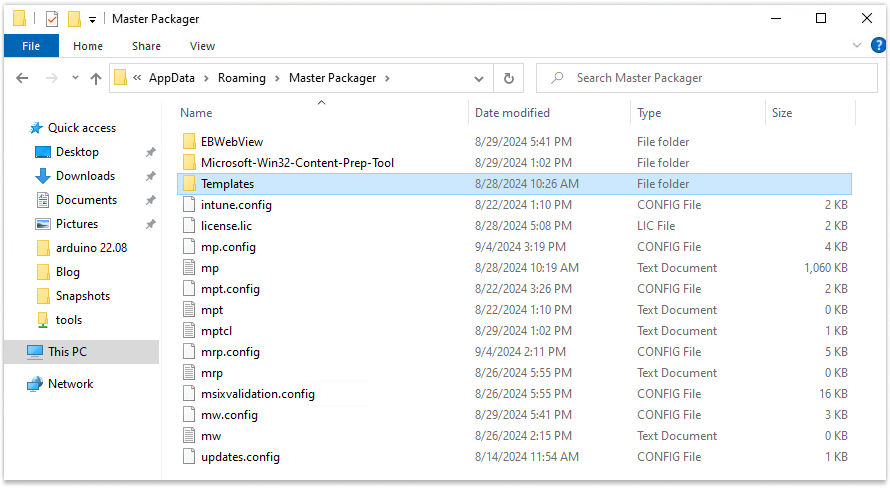
You can find your templates in there.
Note! The Template folder will only appear after you create a template in Master Packager.
Summary
Manually installing drivers for each user is time-consuming and inefficient. To install drivers silently, you should use DPInst.exe, Custom Actions and you might need a certificate for some drivers. Using templates in Master Packager allows you to speed up the process of adding custom actions to multiple MSI packages and reduce errors while creating them.

